
I spent last Monday morning blanching and freezing what I figure was roughly 6 lbs of green beans. I was totally giddy doing it, realizing that I was going to have "fresh" green beans to eat through out the winter. I was happy to think that they are going to be keeping the 12 quarts of corn that we froze company in the freezer. I snapped a few pictures of the process- I figured I would share what it looks like.
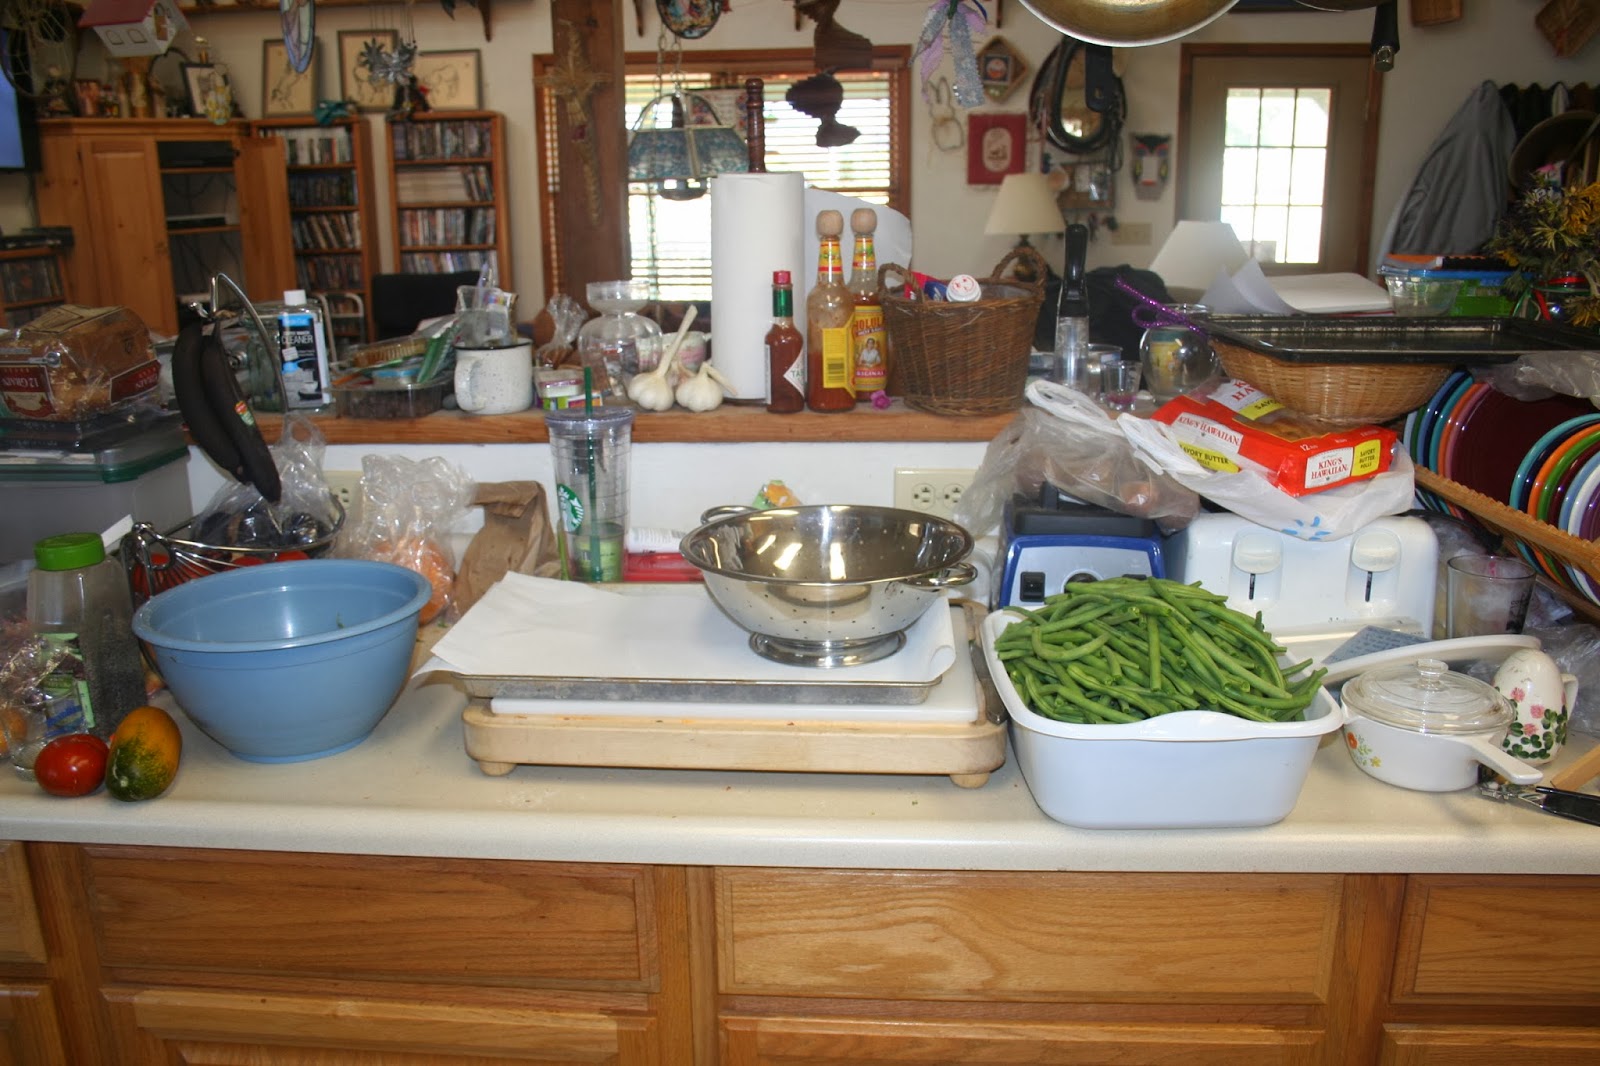 |
| This is the island in our kitchen looking out into our living room. This was the prepping station |
 |
| I started out by dumping the bag of green beans into a dishpan. This made fro easy grab and clip routine for takeing the ends off the beans. |
 |
| My "trash" bucket. Goodies for the girls, who were not big fans of green beans. |
 | |
| I had the pot of water on the stove with the ice water on the counter near by. I was using the strainer to transfer them from rinsing to cooking. |
 |
| I love my metal strainer. This made moving the beans from station to station much easier. I rinsed the beans then took them over to the stock pot I had on the stove. |
 |
| I boiled the beans in water for 4 minutes. |
 |
| I have hot beans here, transferring them to the water bath. |
 |
| I got the water cold enough this time to stop the cooking. Blanching cooks them enough to stop or slow the ripening process. I like crunchy beans, so I didn't cook them too long. |
 |
| After drying the beans on a paper towel, I separated them out into a few pre-made bags I had on hand for the Food Saver system we have. |

 |
| I used the Food Saver system to draw the air out of the bags and sealed them. |
 |
| Once vacuumed and sealed, I used a permanent marker to write the date on the package. The date reflects when the beans were blanched and frozen. |
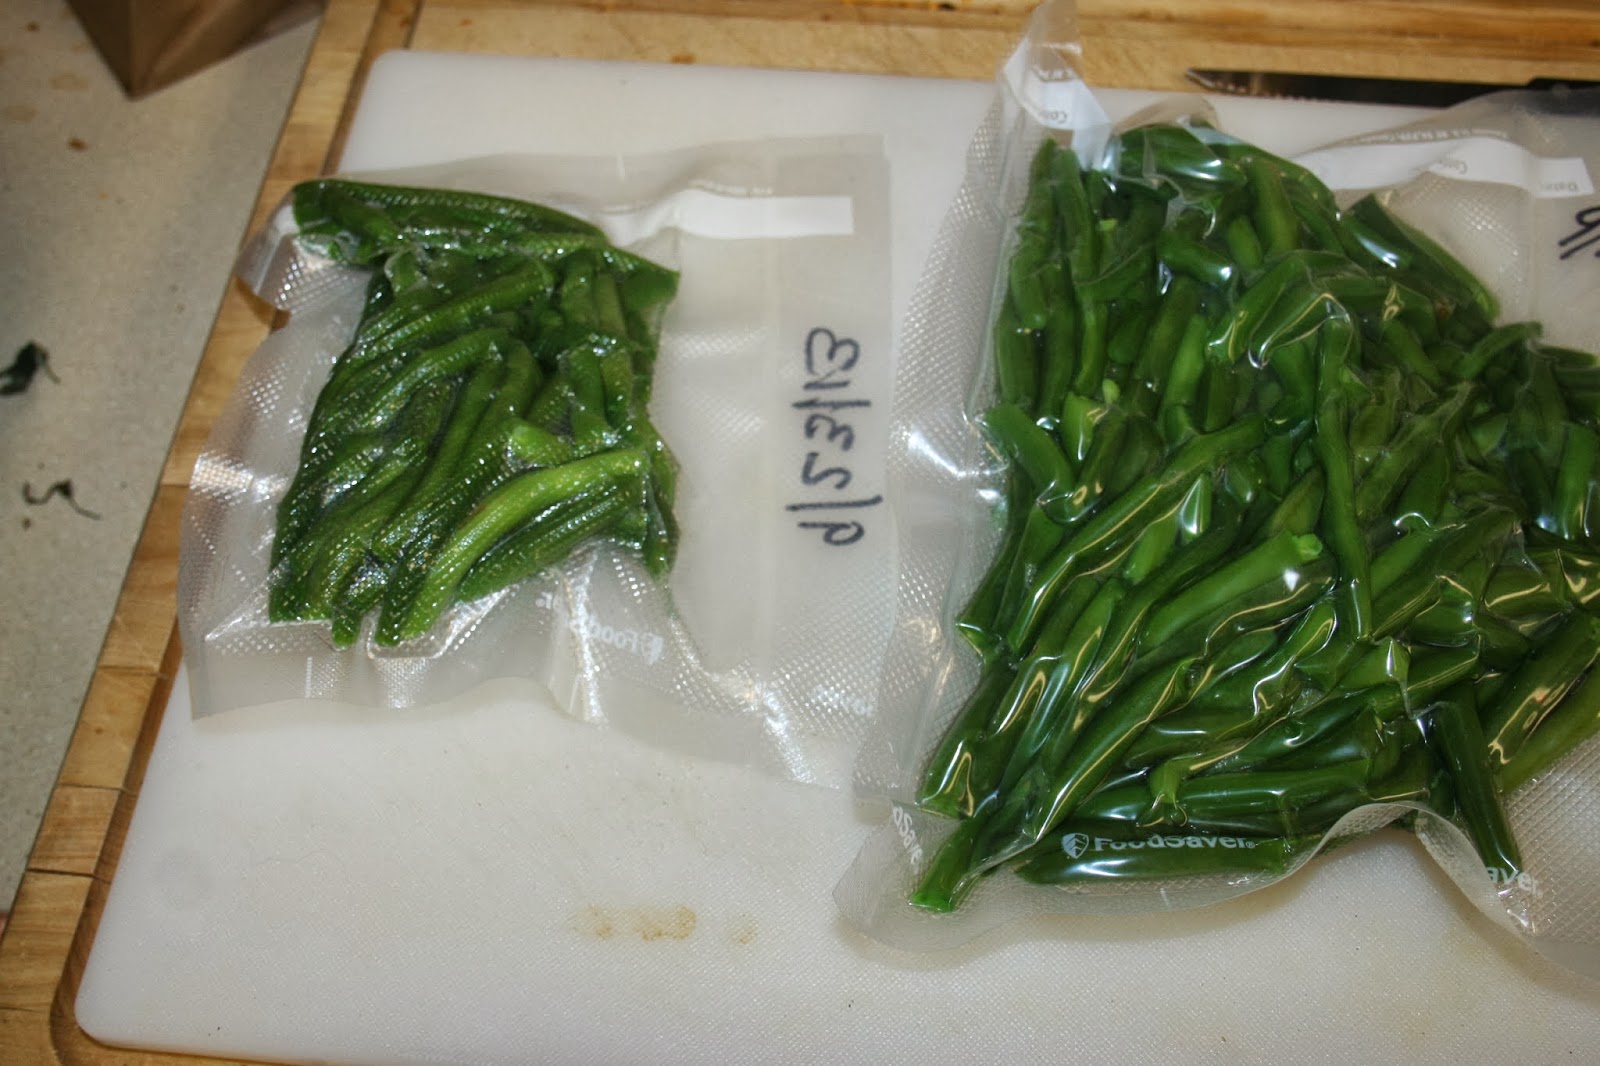 |
| I did 2 different package sizes. That way we can cook a family side dish or one for an individual serving. |
I hope you enjoyed this. Just the beginnings of a homestead.
Love Always,
Rebecca